
AI rendering · Revit
AI rendering from Revit
Revit documents the design, but the image that comes out of it rarely shows the final look. From an exported view, Arch returns the same space with the look of a photograph.
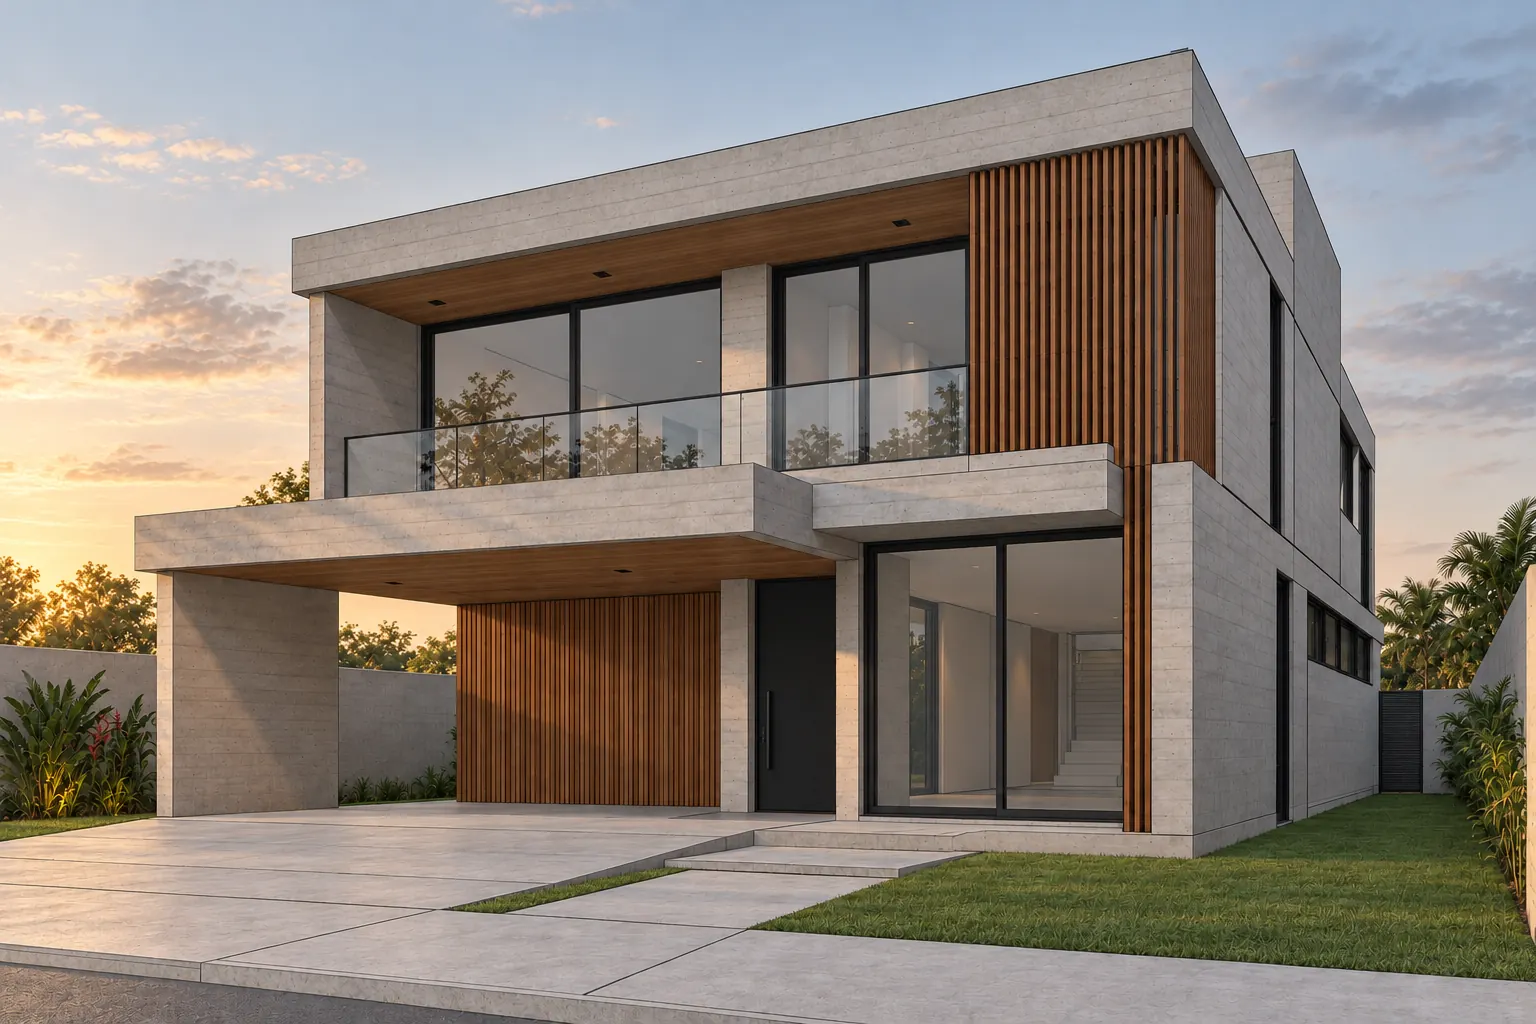
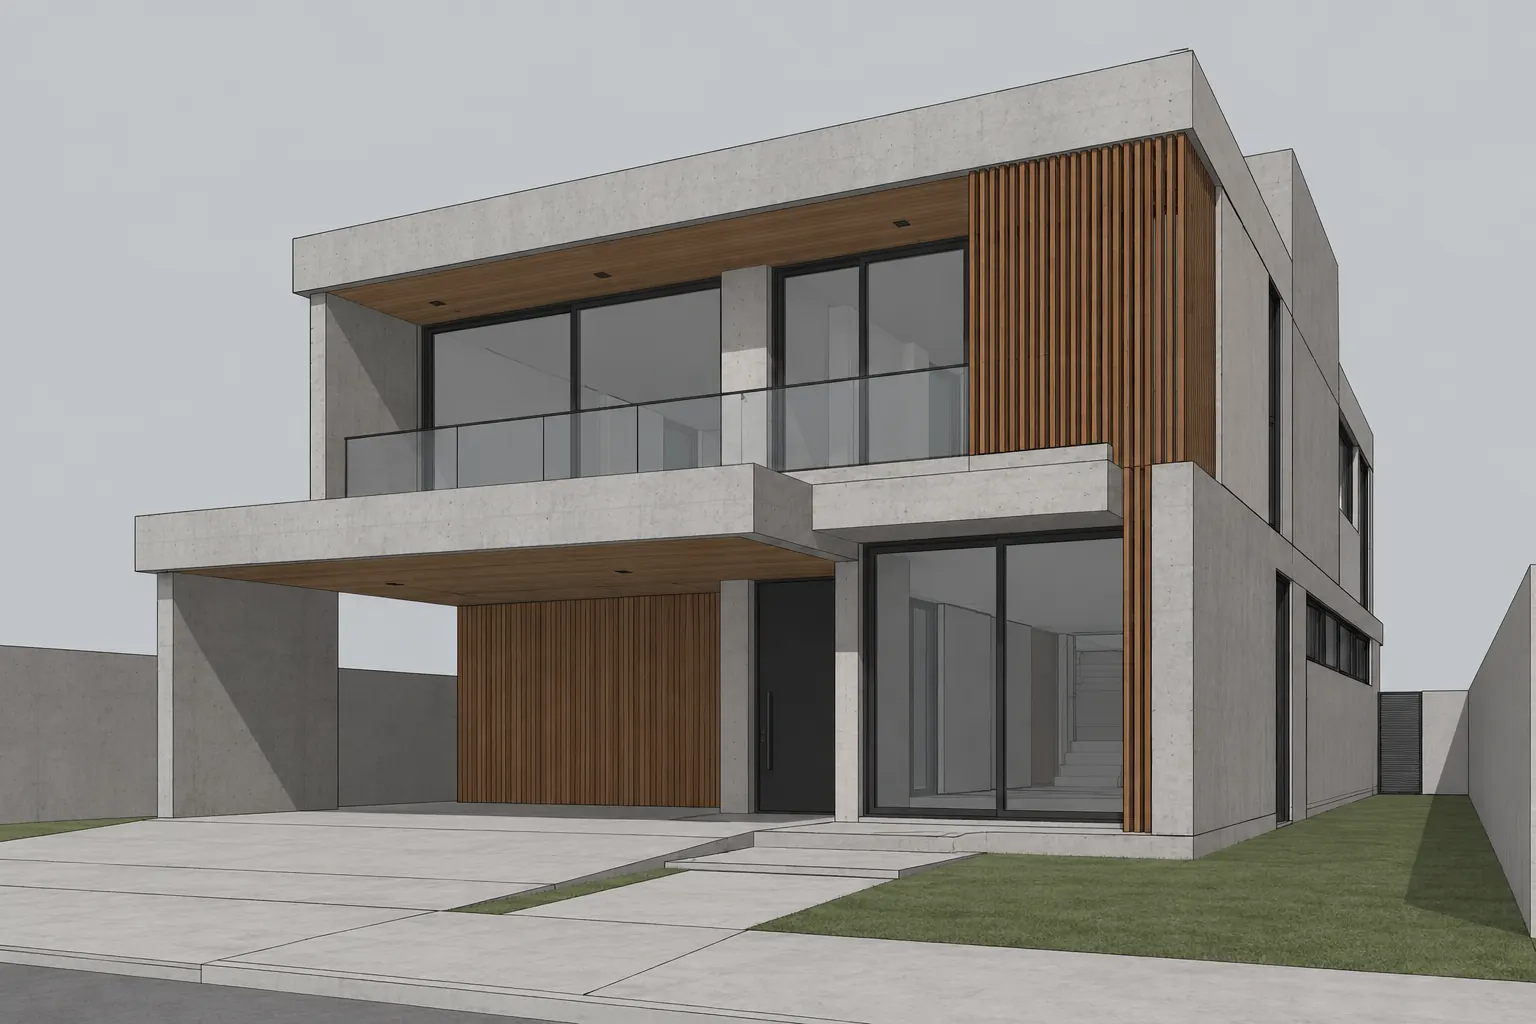
How to export the view from Revit
Open the 3D view or the camera that goes into the presentation. In File › Export › Images and Animations › Image, save the current view as PNG or JPG, at a good resolution. A screenshot also works.
- The “Realistic” or “Shaded” visual style helps the AI read materials and volumes.
- Hide dimensions, levels, grids and text.
- Keep the camera at eye level and without heavy distortion.
- Name each image with the room and the view, to organize the presentation later.
No material setup and no waiting for the render to compute
Rendering in Revit itself or in a cloud render service means setting up materials and waiting for the calculation. With AI, the image starts from what is already in the view.
Walls, openings and the camera position stay where the model put them. Light, reflection and texture are redone from the time of day you choose.
Enscape, Twinmotion or AI
Enscape and Twinmotion render the Revit model in real time, with the materials and lights you set up. They give control over every surface and suit tours and long animations, but they need a machine with a good graphics card and time to tune.
An AI render starts from an image of the view. It needs no graphics card and no material setup, and the look comes from the AI, with less control over each finish. A common path is to use AI in the first conversations with the client and the render engine once the design is settled.
Sheets, views and phases
When exporting images, Revit lets you choose between the current window and selected views or sheets. For the render, export the 3D view on its own. A sheet with a title block, dimensions and several views mixes information and is harder to read.
If the project uses phases, check the view’s phase filter before exporting. With “Show All”, demolished elements appear and the AI treats them as part of the room. In the final phase, with “Show Complete”, only what will exist appears: what stays and what is new, without the demolition.
From the BIM model to the client conversation
An AI render shows how the design looks: the living room in afternoon light, the finished facade, the chosen finish. Dimensions stay in the model; send the technical documents as always.
Before sending, compare the render with the exported view. If a window frame or a ceiling changed, ask for another version or write what has to stay in “Anything to ask for?”. Then gather the views into a presentation with your studio logo, with PDF and PPTX.
What it costs
To try it, a new account gets 2 free renders (350 credits), no card; video comes with a plan. On the first subscription, plans start with 7 free days, and the first charge is on day 8.
Frequently asked questions
Does it work with any Revit version?
Yes. Arch uses the image of the view, not the model file.
Do I need to set up materials in Revit?
It is not required. Visible materials help the AI keep your choices; without them, it suggests finishes and you can ask for yours in writing.
Can I use a Revit floor plan?
Yes. A technical plan becomes a humanized floor plan, with furniture and textures.
What about a section view?
If the view shows the room cut open, seen from outside, Arch photographs the same room from inside.